HubSpot Integration: How to Create QR Codes Directly on HubSpot CRM
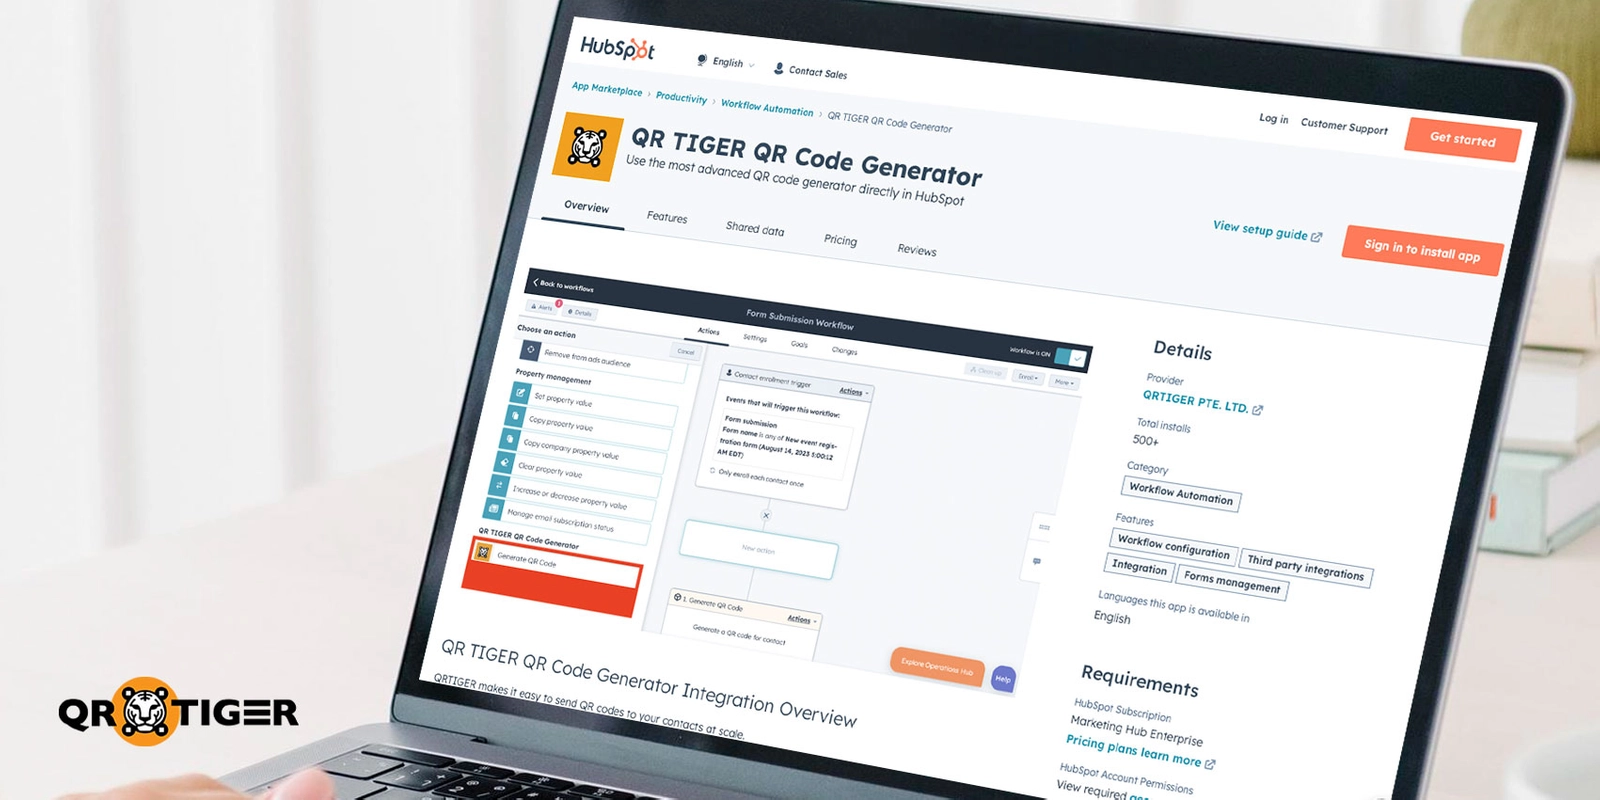
Table of Contents


Go to action logs to check and verify the workflow and the trigger, event, or action succeeded and is working.
Once verified, click the workflow to see event details. On the Action Outputs, you’ll see the qrImage link and short URL. Use the qrImage link to download the QR code, or use the short URL to share it directly.
Automate QR code creation in HubSpot workflows
HubSpot integration with QR TIGER lets you create QR codes through workflows with no manual steps. You define the trigger, add the action, and the system generates the QR code automatically.
Each QR code links to a contact or company record. Your team finds the code fast and uses it right away. This keeps your data organized and easy to manage.
Set clear triggers and use the right action for each use case. Turn on the workflow and let HubSpot handle the rest.
Frequently asked questions
Does HubSpot have a built-in QR code generator?
No. HubSpot does not offer a native QR code generator. You need a third-party integration to create and use QR codes inside the platform.
How are QR codes generated in HubSpot workflows?
QR codes are created through workflow automation. When a trigger runs, such as a new contact or company, the integration generates a QR code and saves it as a contact or company property.
Where can I find the generated QR code in HubSpot?
After the workflow runs, HubSpot stores the QR code link in the contact or company record. You can access it anytime from the record timeline or properties.